Pages

Foodie Blogroll

Friday, June 28, 2013

Jerk Chickpea Panini

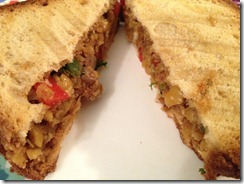
The Jerk Chickpea Panini is the perfect way to transform ordinary, canned chickpeas into a new and exciting meal. For this quick and tasty panini, the chickpeas are quickly marinated in a sweet and spicy jerk marinade, piled onto gluten free bread, and pressed into a perfectly toasted panini overflowing with flavor. For even more Jerk inspired meals, try blackened jerk tofu.

Jerk Chickpea Panini
Gluten Free
Serves One
Click Here for Printable Recipe
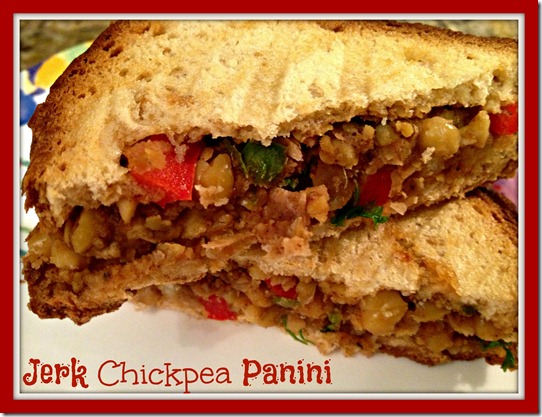
jerk chickpea panini

Ingredients--
Marinade:
1/4 of a small jalapeno, seeded and finely minced
1 garlic clove, minced
1 teaspoon fresh ginger root, finely minced
Juice & Zest of 1/2 of a small lime
1/2 teaspoon grapeseed oil (or substitute with canola oil)
1.5 teaspoons gluten free soy sauce
1 teaspoon double concentrated tomato paste (normally found in a squeeze tube by the pasta/ tomato sauce in grocery stores, I used  Amore)
1.5 teaspoon granulated Truvia
2 teaspoons fresh thyme
1/4 teaspoon allspice
1/8 teaspoon ground cinnamon
1/8 teaspoon ground nutmeg
dash of salt & pepper
dash of cloves
Panini
1/2 cup canned chickpeas, drained
1 tablespoon red bell pepper, chopped
1 tablespoon fresh parsley, chopped
2 slices light gluten free sandwich bread (like the kind by Ener-G)

1. In small bowl, whisk together all marinade ingredients until combined.
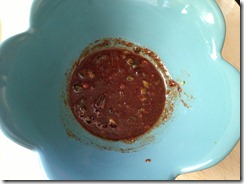
Iphone 5-25 797

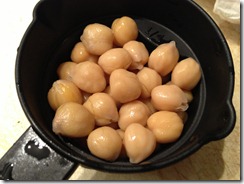
2. Add chickpeas to marinade and stir until they are evenly coated in marinade.
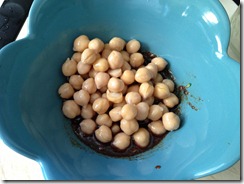
Iphone 5-25 798

3.  Let chickpeas marinade at room temperature for 30-35 minutes.
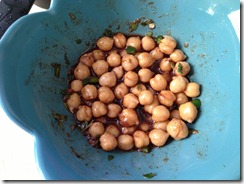
Iphone 5-25 799

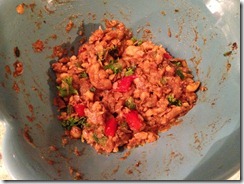
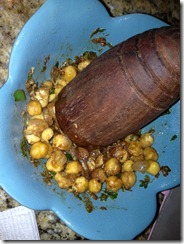
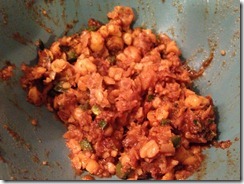
4.  After chickpeas have marinated, preheat a panini press* to medium heat. Cover bowl with chickpea mixture and microwave for 30-45 seconds, or until chickpeas have softened. Use a fork or potato masher to mash mixture until chickpeas are coarsely chopped and incorporated into marinade.
Iphone 5-25 801

Iphone 5-25 802

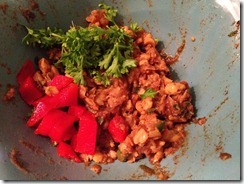
5. Add bell pepper and parsley to chickpea mixture. Stir until combined.
Iphone 5-25 805

Iphone 5-25 807

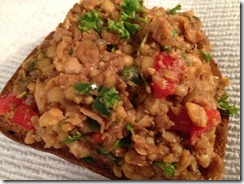
6. Scoop chickpeas mixture on one bread slice and press down gently on filling to help pack it onto bread (the sandwich may overflow a little but that’s perfectly fine). Top with remaining bread slice to form a sandwich.
Iphone 5-25 809

7. Spray outside of panini with olive oil spray , then place on panini press and close the lid. Press sandwich for 3-4 minutes, or until it is beginning to crisp on the bottom, then use a spatula to flip sandwich (even though the panini press cooks both sides at once, I still prefer to flip the sandwich since the bottom always seems to cook faster). Close the panini press lid and continue to cook sandwich 2-3 minutes more or until golden and beginning to crisp on both sides.

Iphone 5-25 810

8. Remove panini from press and place on serving plate. Cut in half diagonally and enjoy!
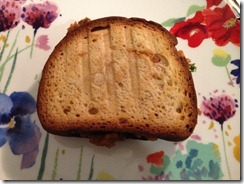
Iphone 5-25 811

Iphone 5-25 821

Nutrition Information--approximately 255 calories per panini
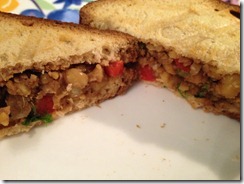
Iphone 5-25 815

* If you don’t have a panini press, just cook the sandwich over medium heat in a small skillet similar to a grilled cheese sandwich, pressing down on sandwich with a spatula as you cook it.

Thursday, June 27, 2013

Gluten Free Five Minute Flatbread

So, my title may be a bit of an exaggeration since this flatbread really takes about 10 minutes to make but I wanted to emphasize just how simple the recipe was and ten minute flatbread just didn’t have the same ring to it! Even with a few extra minutes, this flatbread really is quite simple to make and basically only has two ingredients--flour and water. All you have to do is whisk together the ingredients until combined, pour into a skillet, and voila! Super simple gluten free flatbread! The flatbread is perfect for things like soft tacos, wraps, or burritos. This recipe is just for one but you can easily make more than one at a time. I often whisk together the ingredients for one flatbread while another  one is cooking in the pan.

Gluten Free Five Minute Flatbread
Gluten Free
Makes One Flatbread
Click Here for Printable Recipe

five minute flatbread

Ingredients--
2 tablespoons Gluten Free Flour Blend
2 tablespoons water
1/2 teaspoon dried herbs of choice (basil, thyme, parsley, etc.)
Salt & Pepper, to taste

1. In a small bowl, whisk together all ingredients until combined.
062613 068

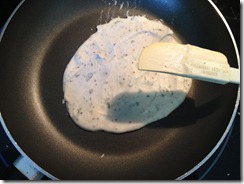
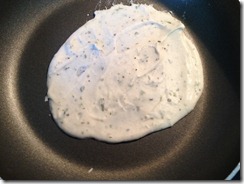
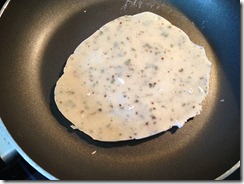
2.  Heat a dry 8 inch nonstick skillet to medium low (don’t add any oil or nonstick spray). Use a small rubber spatula to scoop batter into skillet and spread into a small circle about 6 inches in diameter, making sure there are no holes.
062613 070

3.  Let flatbread cook for 4 minutes, then gently run spatula around edges of flatbread and see if it loosens easily or still sticks to pan. If edges don’t pull away from pan, let flatbread cook for 1-2 minutes more.
062613 071

4. Once edges pull away from pan, use a thin wide spatula to carefully flip. Let cook for 3-4 minutes more, or until slightly crisp on bottom. Flip flatbread one more time, and cook for 1 minute more or until slightly crisp and golden on both sides.
062613 072

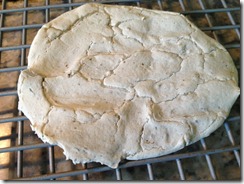
5. Use flatbread immediately, or if serving at a later time, transfer to a cooling rack and let cool completely.  Once flatbread is cool, wrap in plastic wrap, place in a ziploc bag and store in the refrigerator for  up to 5 days. (If you’re making more than one flatbread, keep flatbreads on a cooling rack while you make the others so they don’t get soggy on the bottom).
062613 073

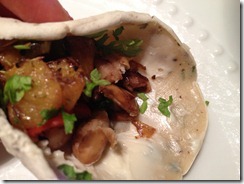
6. To reheat flatbread for serving, simply wrap in a damp paper towel and microwave for 20-30 seconds or until pliable. Scoop on desired fillings and enjoy!

062613 171
Nutrition Information--approximately 60 calories per flatbread

Wednesday, June 26, 2013

Fried Egg Tapenade Sandwich

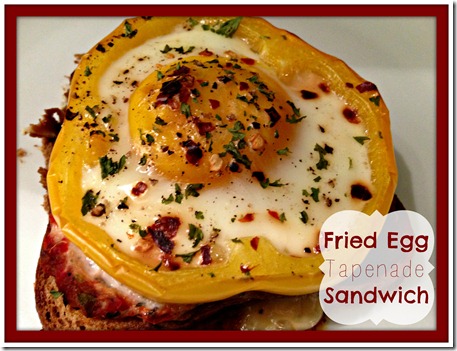
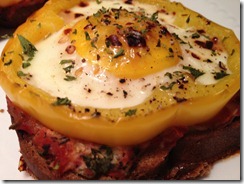
The Fried Egg Tapenade Sandwich is a sophisticated new take on the classic fried egg sandwich. For this elegant  version, the egg isn't even fried in a skillet but rather baked right on top of the bread for an easy hands-off way to enjoy eggs. To make the sandwich, simply spread two slices of gluten free bread with the delicious tapenade, top with two pepper rings, and crack an egg into the center. After about 15 minutes, you have a flavor packed egg sandwich that requires minimal effort or cleanup!

Fried Egg Tapenade Sandwich
Gluten Free
Makes 1 Open Faced Sandwich
Click Here for Printable Recipe
egg tapenade sandwich

Ingredients--
1 large red or yellow bell pepper
1/4 cup Eggplant & Bell Pepper Tapenade
2 slices light gluten free sandwich bread (I prefer the kind by Ener-G )
2 eggs
1/4 teaspoon dried basil
Salt & Pepper, to taste
Red Pepper Flakes, to taste

1. Preheat oven to 400 degrees. Line a small baking sheet with aluminum foil and spritz with a layer of olive oil spray.

2. Use a small paring knife to carefully cut off top and bottom stems of bell pepper. Lift out core and seeds of pepper, then cut two rings (about a half inch thick) from the widest part of the pepper. Reserve the remaining pepper for another use.

3. Place bread slices on prepared baking sheet. Spread about two tablespoons of tapenade on each piece of bread, then place one pepper ring in the center of each piece.
4. Carefully crack an egg into the center of each pepper ring (but don’t worry if the yolks end up off center, it will still taste the same!). Season the eggs with basil, salt, pepper, and red pepper flakes.

5. Transfer baking sheet to oven, being careful not to jostle the eggs. Bake for 13-16 minutes or until eggs reach desired level of doneness.

6. Remove baking sheet from oven and move bread slices to plate. Enjoy as an open faced sandwich!

Iphone 5-25 777

Nutrition Information--approximately 265 calories per sandwich (entire recipe)

Tuesday, June 25, 2013

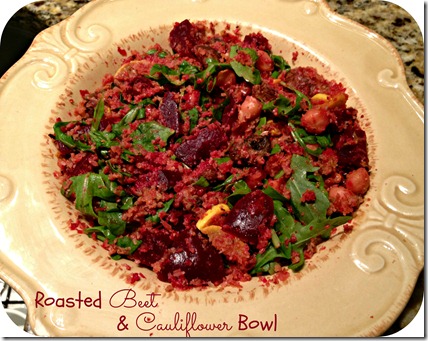
Roasted Beet & Cauliflower Bowl

It’s hard to beat meals that are comprised of  giant roasted veggie bowls- they’re simple, satisfying, and absolutely delicious. This variation of a veggie bowl utilizes a variety of  vegetables from beets to chickpeas to mushrooms to create a delightful dish packed with complimenting flavors and distinct textures. Fresh arugula and  Dijon mustard dressing provide the perfect finishing touch to the vegetables.

If you’re looking for more vegetable bowls, try one of these recipes--
Spring Time Sushi Bowl
Brussels Bowl with Toasted Cauliflower Rice

Roasted Beet & Cauliflower Bowl
Gluten Free
Serves One
Click Here for Printable Recipe

beet & cauliflower bowl

Ingredients--
Roasted Vegetables:
1/2 of a medium head of cauliflower, broken into florets
1/2 of a summer squash, sliced into “half moons”
3-4 button mushrooms, quartered
1/4 teaspoon paprika
1/4 teaspoon ground cumin
1/4 teaspoon dried rosemary
1/4 teaspoon chili powder
dash of cayenne (optional)
2 teaspoons fresh thyme leaves
1/2 teaspoon extra virgin olive oil
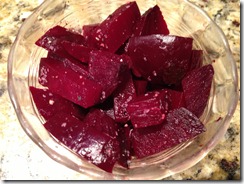
1 (5-6 ounce) Oven Roasted Beet, peeled and cut into cubes
1/4 cup canned chickpeas, drained
Salt & Pepper, to taste
Dressing:
1 tablespoon balsamic vinegar
1 tablespoon Dijon Mustard
1 teaspoon Worcestershire sauce
1 teaspoon vegetable broth (check for gluten)
1/4 teaspoon dried thyme
dash of crushed red pepper
Finishing Ingredients:
1 cup arugula
1 tablespoon fresh basil, chopped

1. Preheat oven to 425 degrees. Line a baking sheet with aluminum foil and spray with nonstick spray. Set aside.

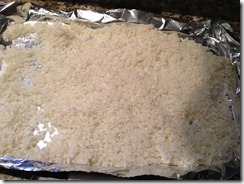
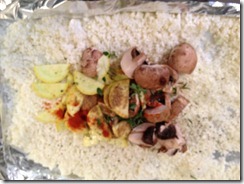
2. Add cauliflower florets to a small food processor and pulse until cauliflower is finely chopped and resembles bread crumbs. Spread cauliflower in an even layer on prepared baking sheet.

Iphone 5-25 733

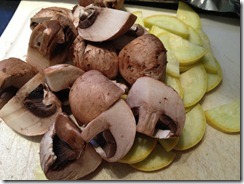
3. Add summer squash, and mushrooms to baking sheet. Season with  paprika, cumin, chili powder, rosemary, cayenne, thyme, salt, and pepper. Drizzle vegetables with olive oil, then stir to coat vegetables in oil and spices.

 Iphone 5-25 732
Iphone 5-25 734
Iphone 5-25 735

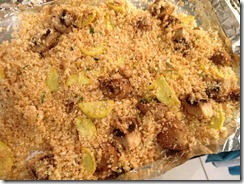
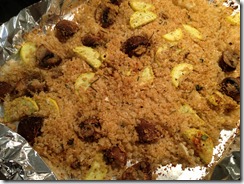
4. Roast vegetables 15 minutes-18 minutes or until cauliflower it beginning to toast around the edges and mushrooms are just tender.  Remove baking sheet from oven but leave oven on.
Iphone 5-25 739

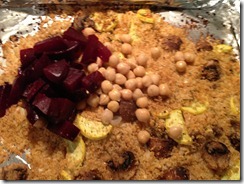
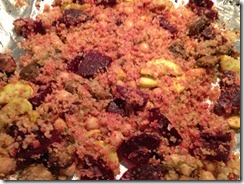
5. Add beets and chickpeas to baking sheet and stir to combine with other vegetables.

Iphone 5-25 736Iphone 5-25 738
Iphone 5-25 742

7. Return baking sheet to oven and continue to roast 4-5 minutes more, or until beets and chickpeas are heated through.

Iphone 5-25 743

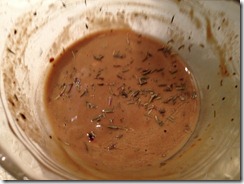
8. While the vegetables are finishing, prepare the dressing by whisking together all of the ingredients in a small dish.

Iphone 5-25 737

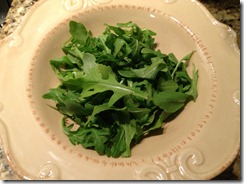
9. Once the vegetables are roasted and the dressing is prepared, you can begin building the bowl! Place arugula on the bottom of a large bowl.

Iphone 5-25 745

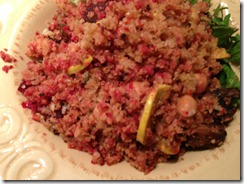
10. Scoop roasted cauliflower mixture on top and drizzle with dressing. Sprinkle  with fresh basil.

Iphone 5-25 746

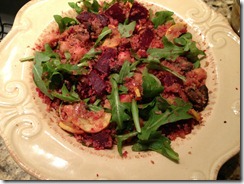
11. Toss to combine ingredients, and enjoy!

Iphone 5-25 747


Nutrition Information--approximately 260 calories per serving (Entire Bowl)

Monday, June 24, 2013

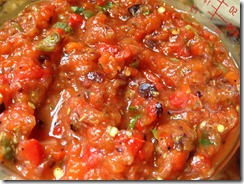
Eggplant & Bell Pepper Tapenade

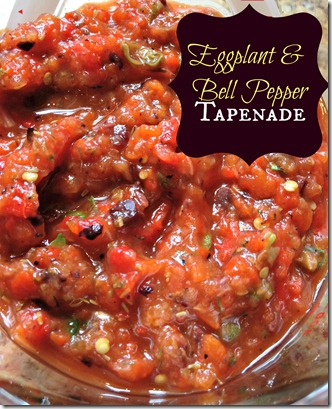
Eggplant & Bell Pepper Tapenade is a versatile topping comprised of Mediterranean flavors ranging from olives to roasted eggplant to fresh basil. Based on this recipe from Fat Free Vegan, the versatile recipe can be used a spread, dip, topping or anything in between. Try it as a topping for grilled fish, as a spread for a vegetable panini, or a dip for toasted gluten free bread. No matter how you use it, this twist on the traditional tapenade will add an explosion of exquisite flavor to any dish. 

Eggplant & Bell Pepper Tapenade
Gluten Free
Makes approximately 1.5 cups {Six 1/4 Cup Servings}
Click Here for Printable Recipe

eggplant tapenade


Ingredients--
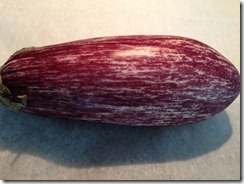
1 (7-8 ounce) Italian eggplant (or substitute with a regular eggplant)
1 (12 ounce) jar roasted bell peppers
5-6 kalamata olives, pitted
1 tablespoon capers
1 tablespoon red wine vinegar
1/2 teaspoon dried marjoram
1/2 teaspoon dried thyme
dash of cayenne, optional
1 tablespoon fresh basil
Salt & Pepper, to taste

1. Preheat oven to 400 degrees. Line a baking sheet with parchment paper and set aside.

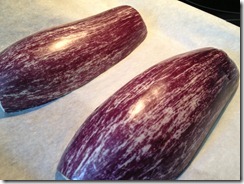
2. Cut off top and bottom stem of eggplant, then cut eggplant in half lengthwise. Place eggplant flesh side up on prepared baking sheet and spray with a layer of olive oil spray. Season with salt and pepper then flip eggplant over so that flesh side is facing down. Spray skin-side of eggplant with nonstick spray.

Iphone 5-25 638

Iphone 5-25 640


3 . Roast eggplant 38-42 minutes, or until very tender when pricked with a fork. Remove eggplant from oven and set aside for a few minutes until cool enough to handle.

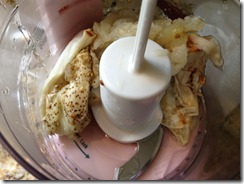
4. Once the eggplant has cooled slightly, use a large spoon to scoop out eggplant flesh into the base of a food process. Discard the eggplant skin,

Iphone 5-25 642

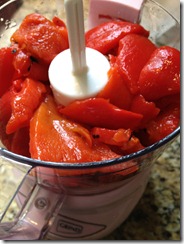
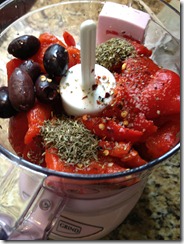
5. Drain roasted peppers and pat dry with paper towels. Add peppers to food processor.

Iphone 5-25 641

Iphone 5-25 644

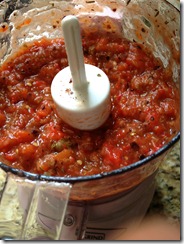
6. Add olives, capers, red wine vinegar, marjoram, thyme, and cayenne to food processor. Pulse mixture until all ingredients are chopped and mixture looks like a chunky sauce (it shouldn't be completely smooth).

Iphone 5-25 645

Iphone 5-25 647

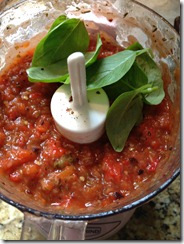
7. Add fresh basil to food processor and pulse just until basil is incorporated. Season with salt and pepper, to taste.

Iphone 5-25 648

8. Use tapenade immediately, or store in a covered jar in the refrigerator for up to 1 week.

Iphone 5-25 650

Nutrition Information--approximately 25 calories per 1/4 cup of tapenade

Thursday, June 20, 2013

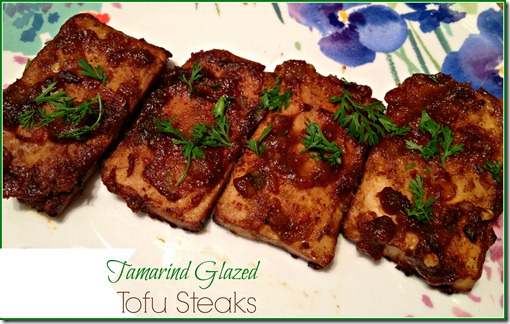
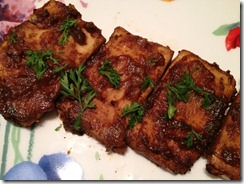
Tamarind Glazed Tofu Steaks

Tamarind Glazed Tofu Steaks is a recipe that melds tofu and Quick Tamarind-Date Chutney into a delectable entrĂ©e. The tofu is cut into thin “steaks” and marinated in a flavor packed ginger, soy, and curry marinade. Next, the tofu steaks are oven roasted until deliciously crisp on the edges, and then brushed with the sweet and sour chutney. After a few minutes under the broiler to caramelize the chutney glaze, the tasty tofu steaks are ready to enjoy. Serve with rice of gluten free pita bread to soak up any extra chutney!

Tamarind Glazed Tofu Steaks
Gluten Free
Serves One
Click Here for Printable Recipe

tamarind glazed tofu steaks

Ingredients--
1 tablespoon Quick Tamarind Date Chutney
6 ounces lite firm tofu, like the kind by Mori-Nu (half of a 12 ounce package)
Fresh Cilantro
Marinade:
1/4 teaspoon extra virgin olive oil
1 tablespoon gluten free soy sauce
1/4 teaspoon lemon juice
1/2 teaspoon curry powder
1 tablespoon vegetable broth, check for gluten
1 teaspoon fresh ginger root, grated
1 garlic clove, minced

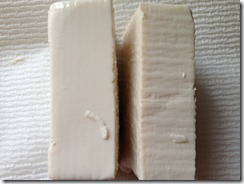
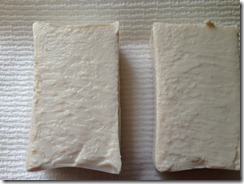
1. Cut tofu in half lengthwise, then lay tofu flat on a cutting board lined with several layers of paper towels.

060813 042

060813 043

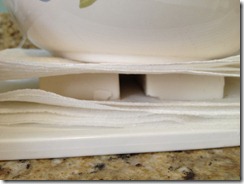
3. Layer 3 more layers of  paper towels on top of tofu, then stack a large bowl or plate on top of tofu. Place 2 cans on top of bowl/plate to press down tofu. Press tofu for 30 minutes.

060813 045

4. While the tofu is pressing, prepare the marinade. In a small bowl, whisk together all marinade ingredients until combined. Set aside.

5. After 30 minutes, remove plate and cans from tofu. Cut each tofu slab in half lengthwise, so you have four thin tofu steaks. Place tofu steaks in  Tupperware container or rimmed dish.

060813 046

6. Pour marinade on top of tofu and carefully turn steaks so they are coated with marinade on all sides.

060813 049

7. Place lid on container and put in refrigerator. Let tofu marinade for 30 minutes to an hour.

8. Meanwhile, preheat oven to 375 degrees. Line a baking sheet with aluminum foil and spray with olive oil spray.

9. Once tofu is finished marinating, lift tofu out of marinade and place on baking sheet. Roast tofu for 15 minutes.

060813 051

10. Remove baking sheet from oven. Spray the tops of tofu with olive oil spray, then use a spatula to carefully flip.

060813 054

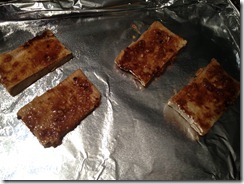
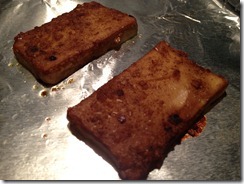
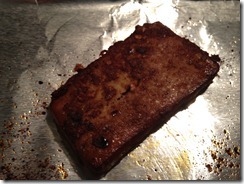
11. Return baking sheet to oven and continue to bake for 12-14 minutes more, or until  golden on both sides and the edges have crisped.

060813 055

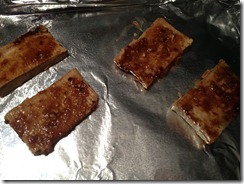
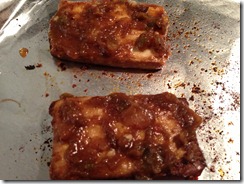
12.  Turn on broiler. Use a pastry brush or spoon to spread tamarind-date chutney on tofu steaks.

060813 052

060813 056

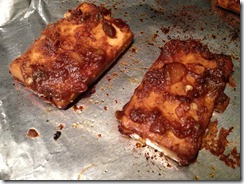
13.  Place tofu until broiler for 3-5 minutes, until chutney is caramelized and browned.

060813 060

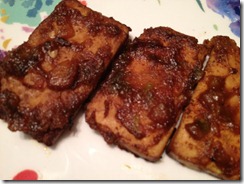
14. Use a spatula to place tofu steaks on serving plate. Garnish with fresh cilantro and enjoy!

060813 063

060813 067

Nutrition Information--approximately 130 calories per serving (entire recipe)