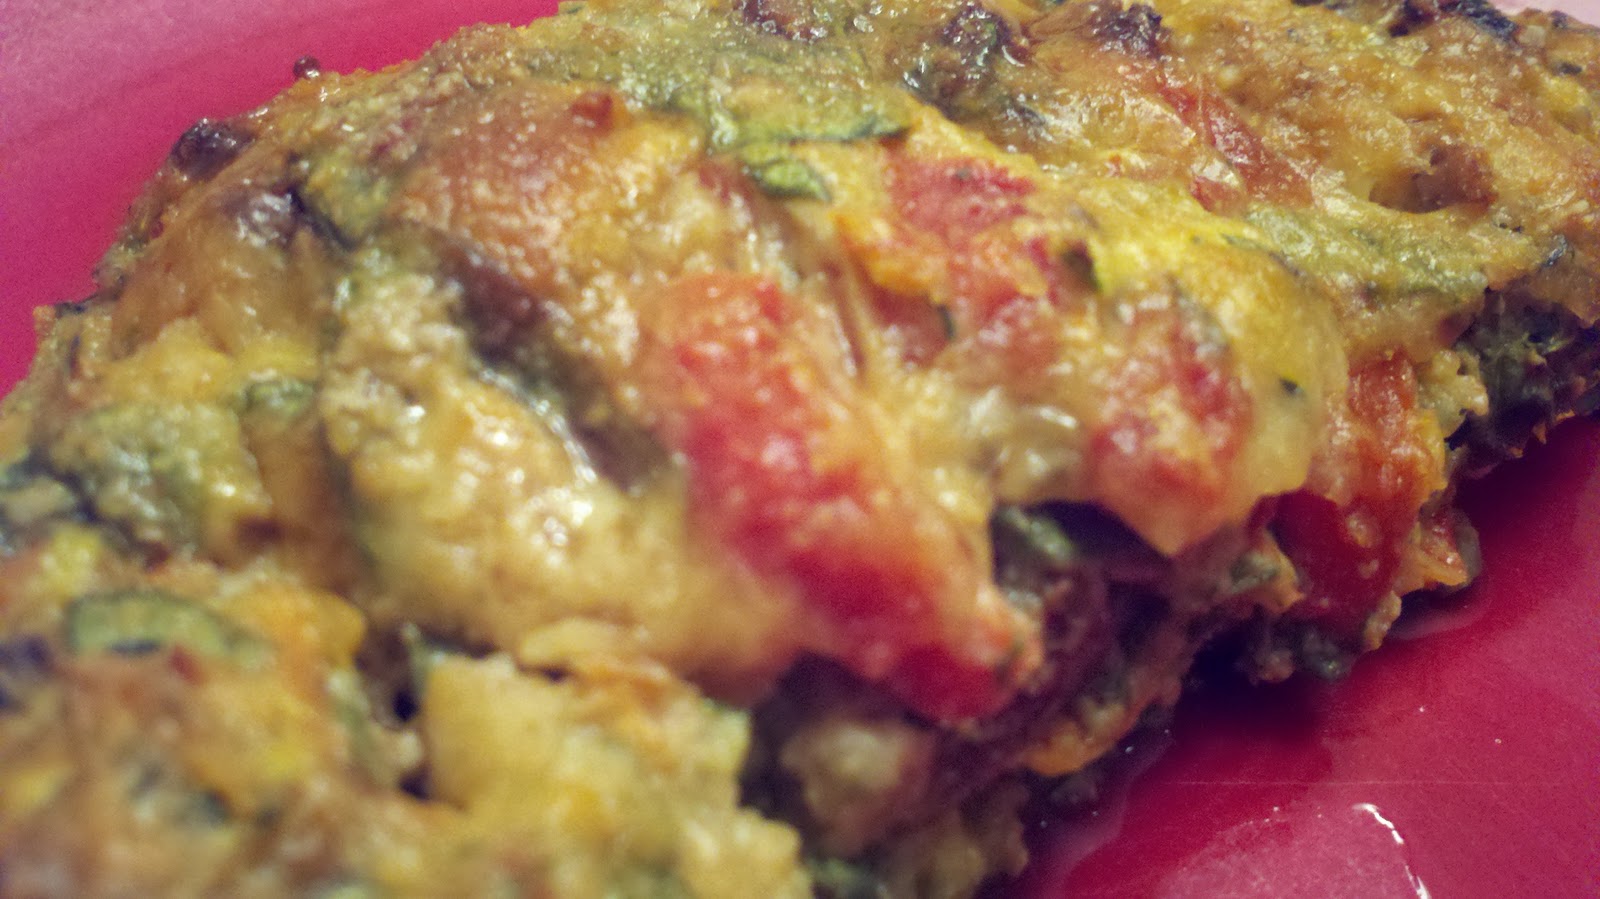
Personal Mushroom & Asparagus Frittata
Gluten Free
Makes 5 Mini Frittatas
Click Here for Printable Recipe

Ingredients--
1 cup liquid egg substitute
1/4 cup unsweetened Silk Almond Milk
1/2 cup any variety of mushrooms, chopped
4-5 stalks asparagus, cut into 1/2 inch pieces
5 tsp. Parmesan cheese, grated
dried thyme
salt & pepper
1. Preheat oven to 400 degrees. Spray 5 cups in a muffin tin thoroughly with nonstick spray; set aside. Spray a small skillet with nonstick spray and bring to medium heat.
2. Add the mushrooms to the skillet and saute until softened, 2-3 minutes. Stir in the asparagus pieces and cook for an additional 1-2 minutes (until asparagus is tender but still has a little bite to it). Season to taste with salt, pepper, & thyme.
3. In a medium bowl, whisk together milk & eggs. Season with salt & pepper.
4. Stir vegetables into egg mixture.
5. Evenly distribute the mixture between the 5 sprayed muffin cups. Top each frittata with a teaspoon of grated Parmesan.
6. Bake for 15-17 minutes or until tops are golden, puffed, and firm to touch.
7. Let cool slightly prior to serving. Use a knife to loosen the edges of the frittatas before popping out of the muffin tin.
Nutrition Information--approximately 50 calories per frittata